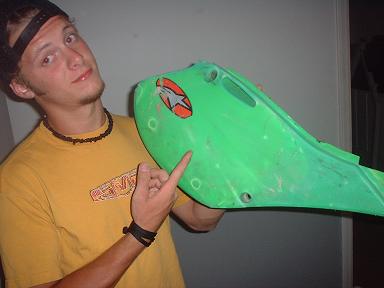
Cutting Grab Holes
SOME BIKES REQUIRE SOME SUBFRAME MODIFICATIONS TO MAKE GOOD GRABS. READ HERE FOR MORE INFO.
If you have every tried to make a nice grab hole on your bike, chances are you used some type of saw. Using a hacksaw has always been a reliable, quick method for making cuts but it does have its limitations. For example, the cuts typically have to be sanded, and a hacksaw blade cannot make very detailed corners, etc.
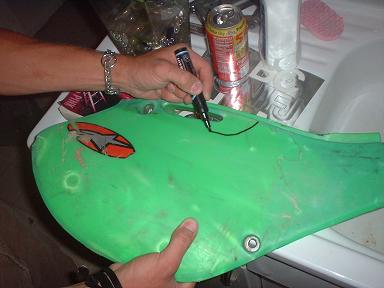
Step 1: Design
your grab hole.
This can be done
with a felt tipped pen (marker). Draw your grab hole on your plastic
just how you want it to look. This will make things much easier and
less frustrating. After the grab hole is finished, the marker
(if a little is still on the sidepanel) can be rubbed off.
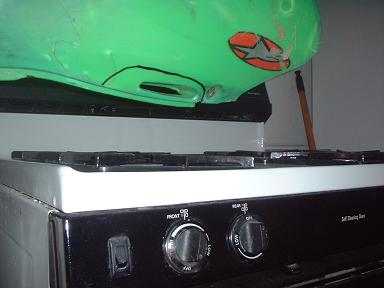
Step 2: You may
have to heat the plastic that needs to be modified
Keep in mind that
YOU PROBABLY WON'T need to do this, but I did want to point out that
it is an option. If you're design is fairly simple/typical, just use
a new, sharp box cutter and skip steps 2 and 3.
Remove the plastic
and take it to the kitchen stove. You could also use a heat gun. This
is because you will heat the plastic enough so that it becomes easier
to cut. It usually is only needed if your plastic is very thick,
tough, or your design has many intricate joints/angles.
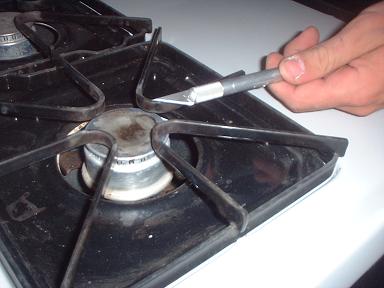
Step 3: Heat
your cutting tool.
Again, you really
don't have to do this, but if you're using an exacto knife for this
job you probably will. The reason is that you can't get a whole lot
of leverage/force with a knife like this because the handle is so
small. This type of razor can work great on intricate cuts when the
plastic and razor are heated up to a high temporature. If you heat
the razors cutting edge until it is fairly hot, it will cut
through the warm, soft plastic pretty well.
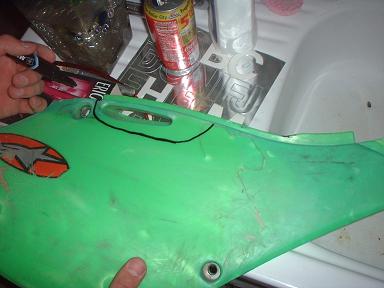
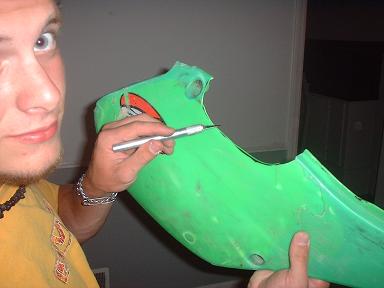
Step 4: Score
the plastic.
Using your razor
of choice, lightly cut the plastic along the line, going only 1/4 way
through the plastic to score your line. You could even score it more
than once if you feel you need it. Go slow and use only the tip of
the blade. It helps to put several layers of masking tape adjacent to
the marker line in (on both sides) order to help the blade stay on
track. This is another step that is not crucial. Some people I've met
over the years like to do it this way in order to avoid any
imperfections, but it is not the most important.
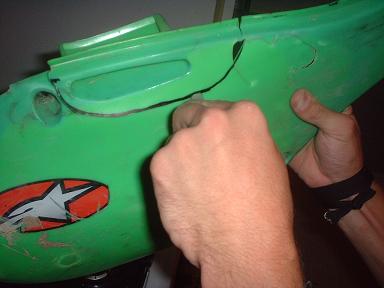
Step
5:
Make the cut.
Now
using your box cutter (or your heated exacto knife), force the blade
into the plastic so that the blade goes all the way through. Keep a
constant pressure on the blade while you slowly force it through the
plastic along the line. You want to maintain a constant pressure so
that the knife stays moving and you don't have to restart. Stopping
and restarting the cut is how bumps in the line form. You'll have to
adjust the angle of the blade to accomodate any curves, etc.
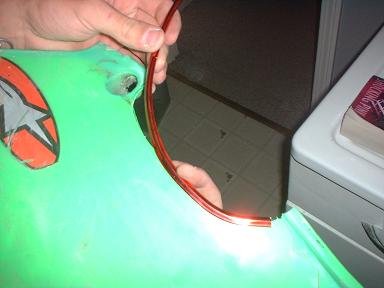
Step 6: Line
the edges.
After you're
finished, you should be left with a very smooth cut. If the cut
isn't completely smooth, you can shave the cut down a little with the
razor blade. For a cosmetic addition, you may want to line the grab
hole with some trim. Wal-mart sometimes carrys automotive trim in
several different colors. This comes in a U shape and is easily
applied to your grab hole. You'll want to put some super glue on it
to ensure it doesn't move or come off. Lockhart Phillips (an
aftermarket roadracing catalog) carries some very nice
chrome-finished trim available in several colors that is the perfect
thickness for plastic. It's actually designed to line windshields on
street motorcycles, but looks and works excellent for lining grab holes.
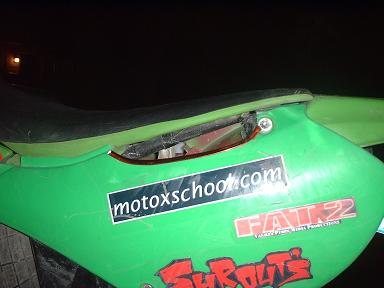
In the above image
at right, you can see how I added a thin piece of tubing (that is
also covered in grip tape) so that when you actually grab the seat
you have that bar to make the grab a little thicker. On this
particular bike I didn't weld that bar - it was just resting on the
subframe and zip-tied on. On another bike with an identical subframe,
I opted to open up the grab hole a little more by modifying the
subframe a little. Click
here to see what was involved.